
Calculate your potential savings with our ROI Calculator
ROI Calculator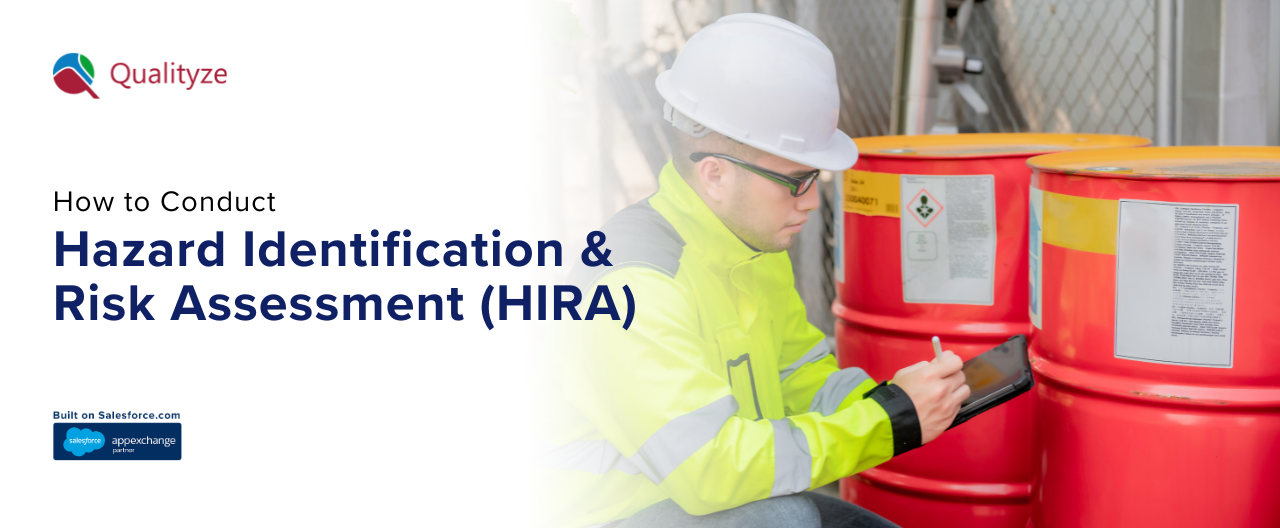
To begin with, when you walk into a workplace whether it’s a shop floor, a lab, or a small office you’re surrounded by things that could go wrong: a wet floor, a noisy machine, a heavy box on a high shelf, a chemical stored near a heat source. Additionally, Hazard Identification and Risk Assessment (HIRA) is a simple way to deal with this reality. First of all, you spot the hazards; the “what could hurt someone.” Then, you assess the risk; how likely it is to happen and how bad it could be. Finally, you decide what to do about it.
Similarly, think of it like driving in the rain. For example, seeing the slick road is hazard identification. Additonally, realizing you’re more likely to skid at higher speeds is risk assessment. Finally, slowing down, turning on headlights, and increasing your following distance are your controls.
Furthermore, HIRA helps teams prevent injuries, stay compliant with regulations, and keep operations running smoothly. In addition, you don’t need complex tools or systems to get it right; just a clear process, consistent documentation, and the habit of updating what you’ve learned.
Firstly, HIRA is a structured way to spot what could harm people at work and to judge how likely and how serious that harm could be. Ultimately, the goal is simple: prevent incidents before they happen.
| Aspect | Hazard identification | Risk assessment |
| Core question | What could hurt someone? | How likely and how bad could it be? |
| Purpose | Spot hazards (things/conditions/practices). | Evaluate likelihood and severity of harm. |
| Timing | First; during walkthroughs/planning. | After hazards are listed. |
| Focus | Sources of harm. | Exposure, probability, consequence. |
| Output | Hazard list with who could be harmed and how. | Risk rating (e.g., L×S), priority level. |
| Tools/examples | Checklists, JSAs, walkthroughs, SDS review. | Risk matrix, scoring scales, FMEA/Bowtie. |
| Data needed | Observations, task steps, history of incidents. | Likelihood/impact scales, exposure details, existing controls. |
| Action trigger | Start the conversation about controls. | Decide which controls to implement first. |
| Ownership | Frontline + supervisors + EHS. | EHS/supervisors with input from frontline. |
| Example | “Unprotected edge at mezzanine.” | “Fall from height is likely (3) and severe (5) → Risk 15 (High).” |
Here are the core principles kept simple and practical:
| Principle | In practice |
| Systematic, not ad-hoc | Use one standard template and walk every job/area the same way. |
| Worker involvement | Do HIRA with the people who do the work; they see real risks. |
| Proactive first | Look for hazards before incidents (inspections, JSAs, near-misses). |
| Clear scales | Use plain 1–5 likelihood/severity with examples everyone understands. |
| Prioritize by risk | Tackle high-consequence/high-likelihood items first (risk matrix). |
| Hierarchy of controls | Eliminate/substitute before engineering/admin; PPE is last. |
| Evidence-based | Attach photos, SDS references, and history; avoid guesswork. |
| Living document | Review after changes, incidents, audits; don’t “file and forget.” |
| Ownership & dates | Assign an owner, due date, and follow-up check for each action. |
| Integrated with EHS/QMS | Link HIRA to CAPA, Training, MOC, Permits, and Audits to close the loop. |
Hence, to implement principles effectively, you must understand the types of hazards, spots to identify trends, and key steps to follow. In addition, here is a simple breakdown of everything you should know:
Here is a clear and concise explanation of the HIRA process step-by-step:
Start by defining exactly what you’re assessing an activity, a work area, a piece of equipment, or a group of people across specific shifts, including contractors. Note any legal or standard requirements that apply and choose simple risk scales you’ll use throughout. Decide who will participate and when the assessment will be reviewed. The output here is a short plan and a blank, shared template that everyone will follow.
Break the job into clear steps, walk the area, and watch how the task is actually performed. Review incident and near-miss history, maintenance records, Safety Data Sheets, and recent changes to people, process, layout, or materials. Include non-routine work like start-ups, cleaning, and shutdowns, plus emergency or lone-work scenarios. The result is a list of hazards, who could be harmed, and how ideally with photos for clarity.
For each hazard, judge how likely it is to occur and how serious the outcome could be using plain 1–5 scales with clear definitions (for example, “rare” to “frequent” and “first-aid case” to “fatality”). Consider exposure (how often and how long), the number of people affected, and any controls already in place. Multiply likelihood by severity to get an initial risk rating you can compare across hazards.
Plot those ratings on a simple red-amber-green matrix so it’s obvious what needs attention first. Address anything in the red zone without delay and apply the ALARP principle reduce risk “as low as reasonably practicable,” especially where consequences are severe. If something breaches a legal requirement, flag it for urgent action. You now have a ranked list of actions with owners and due dates.
Choose controls from the top down: eliminate the hazard if possible, substitute safer materials or methods, add engineering protections, tighten administrative measures like SOPs and training, and use PPE as a last line of defense. Assign a responsible person, budget, and timeline, update related documents, and plan any needed training. Record the residual risk after controls and how you’ll confirm the controls are working.
Set a review cycle say, annually and define triggers for earlier updates, such as incidents, audit findings, new equipment or chemicals, or changes in process or staffing. Track a few simple KPIs like the percentage of assessments in date, on-time action closure, near-miss reporting rates, and repeat-incident reductions. Share lessons learned in brief toolbox talks so the assessment stays current and useful.
Great for routine areas and repetitive tasks. A good checklist turns “don’t forget” into “can’t forget.” Keep items short, include photo fields, and update them when equipment, layout, or materials change. Best for quick, consistent coverage across many sites.
Ideal for task-level reviews. Break the job into steps, list the hazards at each step, and note the controls. Do it with the people who actually perform the work. JSAs work well for non-routine tasks (setups, cleaning, changeovers) where risk often creeps in.
Use when a process or piece of equipment has several ways to fail. Score each failure mode for severity, occurrence (likelihood), and detection; focus on the highest totals first. FMEA is more detailed than a JSA and suits manufacturing lines, utilities, and critical equipment.
A fast, team-based brainstorm: “What if power fails during mixing?” “What if the contractor uses the wrong solvent?” Capture scenarios, likely consequences, and controls. Useful early in planning, before procedures are finalized, or when work is unusual.
A clear picture tool for major hazards. Put the “top event” in the center (e.g., “loss of containment”), list causes on the left with preventive barriers, and consequences on the right with recovery barriers. Good for high-consequence risks where you must show layers of protection.
For simple, repetitive work, start with checklists and JSAs. For complex processes or critical equipment, add FMEA, and for unusual or new work, run a quick What-if. Also, for hazards with serious consequences, use Bowtie to show defenses clearly. Ultimately, the goal isn’t to use every tool it’s to pick the one that gives a reliable answer quickly and keeps people safe.
Leaders set the tone. They approve the policy, define what “acceptable risk” means, and make sure teams have the time, budget, and tools to do HIRAs well. Hence, they remove roadblocks, require HIRA before any significant change (new equipment, chemicals, layout), and review simple safety KPIs each month. Most importantly, they reward early reporting of hazards and near-misses so people feel safe speaking up.
HIRA works best when the people doing the work are involved. Employees help spot real-world hazards, suggest practical controls, and test whether new measures actually fit the job. They report issues quickly, take part in toolbox talks and JSAs, and follow agreed controls. If something looks unsafe, they use “stop work” authority and call it out—no blame, just fix it.
The EHS team is the guide and gatekeeper. They provide clear templates and risk scales, train supervisors and crews on hazard recognition, and facilitate HIRA sessions. Moreover, they check that controls match the hierarchy (eliminate first, PPE last), keep documentation current, and track action closure. Therefore, they also analyze trends from incidents and near-misses, align with legal requirements, and trigger reviews after changes or audit findings.
Many assessments focus on routine, steady-state work and miss what really bites start-ups and shutdowns, maintenance, cleaning, contractor tasks, night shifts, and simultaneous operations. In fact, these moments change who is exposed, how long, and to what. Moreover, a quick “non-routine checklist” and a walk-through during these tasks helps surface what the day shift never sees.
Different teams use different templates, risk scales, and naming, which makes comparisons and audits hard. Missing photos, unclear severity/likelihood definitions, or outdated versions also weaken the record. Therefore, standardize the template, lock version control, define scales with plain examples, and require a photo or sketch for high-risk items.
First of all, if people feel rushed, blamed, or unheard, they stop reporting hazards and near-misses. That starves HIRA of the most valuable data: frontline insight. In fact, keep sessions short and on-site, invite the people who do the work, make reporting easy (one-minute forms, QR codes), and always close the feedback loop so contributors see what changed.
Rare events loss of containment, falls from height, ignition in a confined space can be downplayed because they “never happen here.” Consequence matters as much as likelihood. Hence, use scenario thinking, bowtie reviews, and the ALARP principle to keep attention on severe outcomes, and back it up with drills and layered controls.
Pick one HIRA template with clear 1–5 scales for likelihood and severity, simple examples for each score, and space for photos. Lock version control so everyone uses the latest form. This makes results comparable across sites and easier to audit.
Keep training short and practical: quick refreshers during toolbox talks, walk-throughs on real jobs, and simple tips on spotting energy sources, line-of-fire risks, and changes since yesterday. Therefore, new hires and contractors get a brief HIRA primer before starting work.
To begin with, use mobile checklists for on-the-spot entries, auto-time stamps, and photo capture. Dashboards highlight overdue actions and high-risk items. Moreover, automated reminders keep owners accountable, and audit trails show what changed, when, and by whom.
Feed incidents, near-misses, and change controls back into the HIRA so the assessment reflects reality. When you close a CAPA or modify an SOP, update the relevant HIRA and re-check residual risk. Moreover, review trends monthly to confirm risks are moving from red to amber to green.
Typical risks include moving machinery, stored energy (electrical, pneumatic, hydraulic), manual handling, and chemical use for cleaning or coating. Moreover, a good HIRA looks at normal runs and the risky moments—setups, changeovers, jams, and maintenance. Moreover, controls often center on machine guarding, lockout/tagout, ergonomic fixes, point-of-use PPE, and clear start-up/shutdown procedures, with quick refreshers during shift handovers.
To begin with, key hazards involve potent APIs, sterile operations, biologics, compressed gases, sharps, and cross-contamination. HIRA should cover both lab and production areas, plus cleaning and waste handling. Indeed, typical controls include closed systems and local exhaust, contained transfer, validated cleaning, HEPA-filtered areas with pressure differentials, strict gowning, spill response, and role-based training tied to SOP changes.
High-energy, changing sites bring risks from work at height, excavations, lifting, temporary electrics, and site traffic. Therefore, a practical HIRA considers weather, ground conditions, adjacent services, and multiple contractors working at once. Hence, controls include permits to work, edge protection and fall arrest, trench shoring, certified rigging plans, spotters and traffic routes, daily toolbox talks, and “last-minute” point-of-work assessments.
Major hazards include flammables, toxic releases (e.g., H₂S), high pressures/temperatures, confined spaces, and ignition sources. HIRA should tie closely to process safety information and management of change. Moreover, strong controls are layered: gas detection, relief and isolation systems, interlocks and emergency shutdowns, hot-work control, confined-space entry with rescue plans, and bowtie reviews to verify preventive and recovery barriers.
Modern HIRA tools turn a paper exercise into a clear, repeatable workflow. Guided forms help teams describe the job, identify hazards, and rate risk without guessing. Moreover, mobile apps let you capture photos and notes at the job site even offline and link hazards to specific assets via QR codes. Hence, risk matrices calculate automatically, version control prevents “which file is final?” confusion, and dashboards show what’s overdue so nothing slips.
Automation handles the busywork and spots patterns people miss. Systems can flag rising trends in near-misses, group similar hazards using text analysis, and suggest controls aligned to the hierarchy (eliminate first, PPE last). Where sensor data exists (noise, gas, temperature), anomaly alerts warn teams before conditions become unsafe. Moreover, the result: smarter prioritization, faster action assignments, and less time spent re-entering or duplicating data.
HIRA is strongest when it connects to the rest of safety and quality. However, linking assessments to Incident/CAPA ensures findings turn into fixes; tying controls to Training pushes the right modules to the right people; using Change Management (MOC) keeps assessments current when equipment, layouts, or chemicals change; and syncing with Permits to Work and Audits keeps day-to-day operations aligned. Hence, one platform means one source of truth, cleaner compliance evidence, and faster audits.
Finally, a good HIRA is simply a clear habit: look for what could cause harm, judge how likely and how serious, and fix the biggest issues first. Therefore, done regularly, it protects people, keeps you compliant, and reduces costly downtime. The secret is consistency one plain template, the right people involved, and reviews whenever things change.
Key takeaways
In conclusion, start small this week: pick one area, run a one-hour walk-through with the crew, capture hazards in a single template, assign owners and dates, and publish what changed. Then scale with a digital QHSE/EHS platform to standardize, track actions, and speed audits (for example, integrating HIRA inside your QMS/EHS like Qualityze).
Author

Qualityze Editorial is the unified voice of Qualityze, sharing expert insights on quality excellence, regulatory compliance, and enterprise digitalization. Backed by deep industry expertise, our content empowers life sciences and regulated organizations to navigate complex regulations, optimize quality systems, and achieve operational excellence.
